Have you caught the Tiny Box Zippy Bug yet?!
There have been so many adorable Tiny Box Zippies popping up on Instagram,
I am just so amazed by the wonderful bags you guys have been sewing!
Today I would love to share with you a little pattern hack I came up with
to make a quilted version of the Tiny Box Zippy.
With this skill added to your arsenal,
we are going to have the world covered in little zippies in no time!
Last month, I was able to be part of the hexie swap on Instagram.
We were instructed to make 30 hexies for our partner, as well as a little bag to put them in.
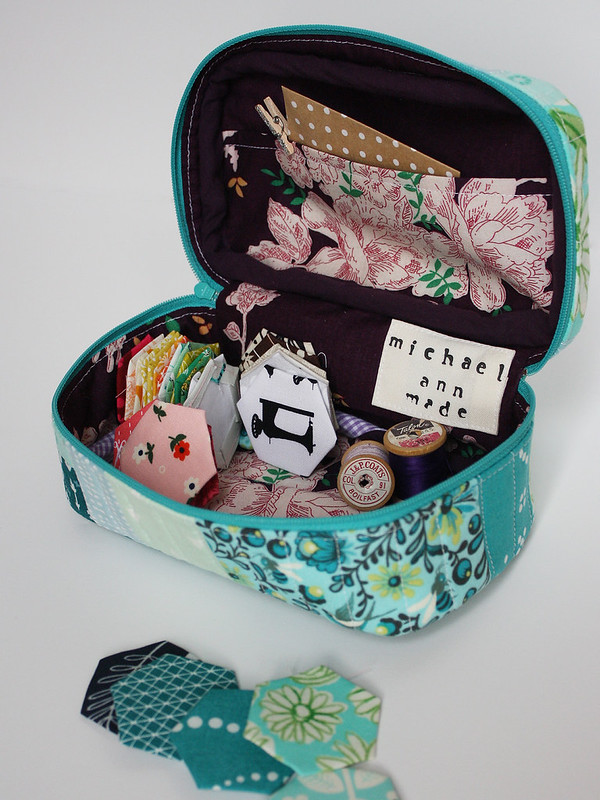
Well what better bag to make for a fellow hexie enthusiast than a Tiny Box Zippy!
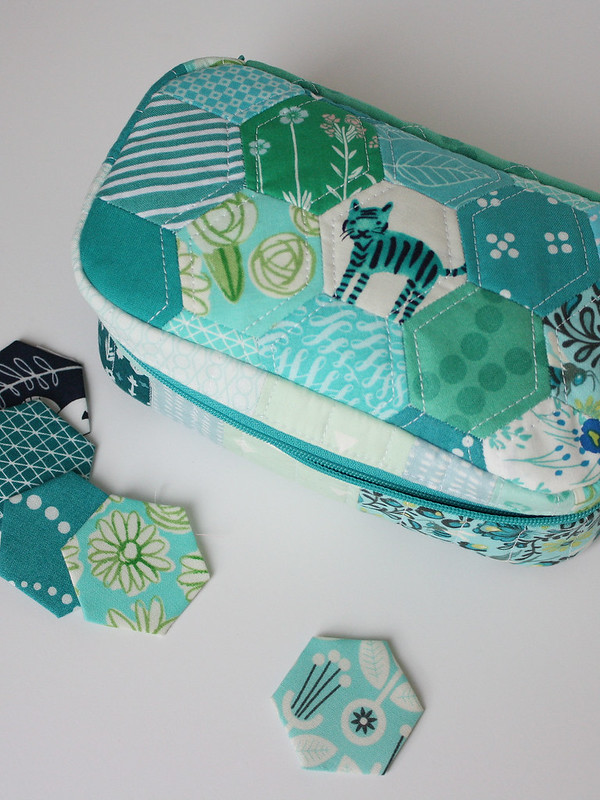
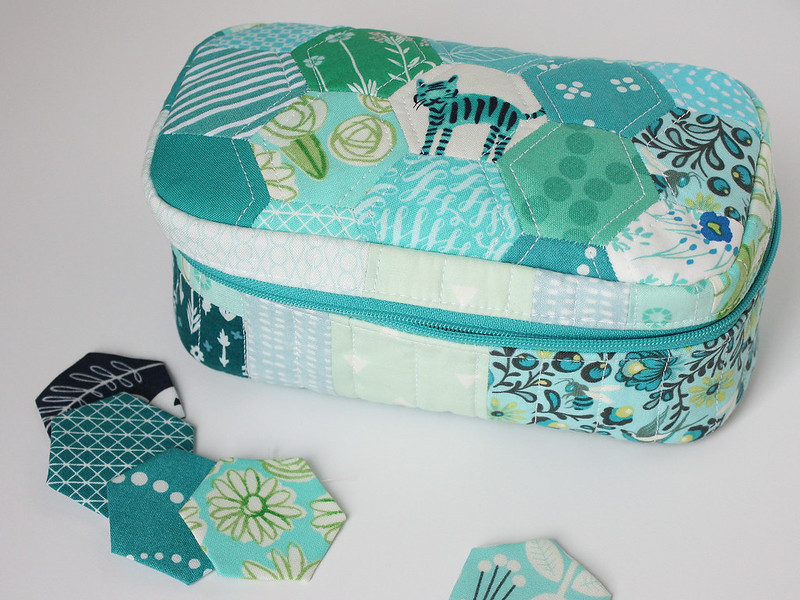
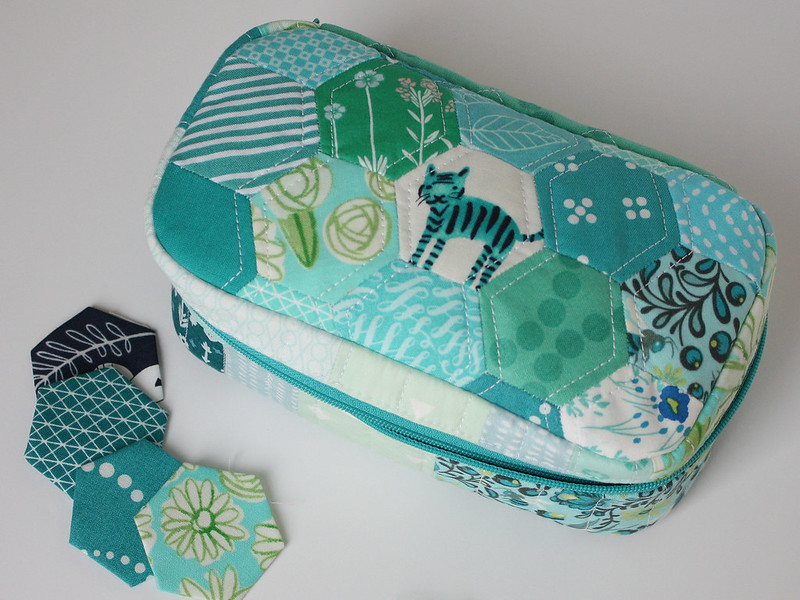
I decided to take things one step further by making a quilted, patchwork, Tiny Box Zippy,
full of adorable hexies on the top,
and bits of lovely scraps on the side panel.
So what are we waiting for!
Download your copy of the Tiny Box Zippy PDF Pattern at my Craftsy shop,
and then read on for the instructions to make your very own
quilted version of the Tiny Box Zippy!
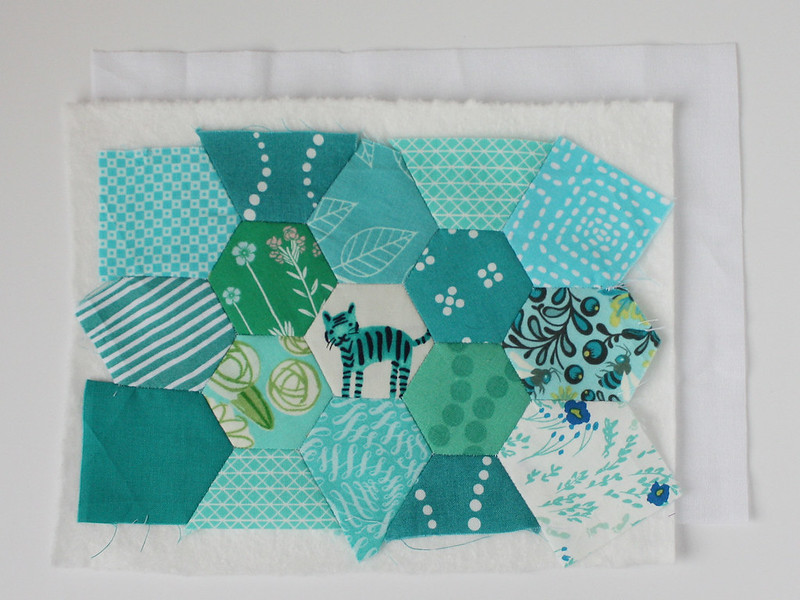
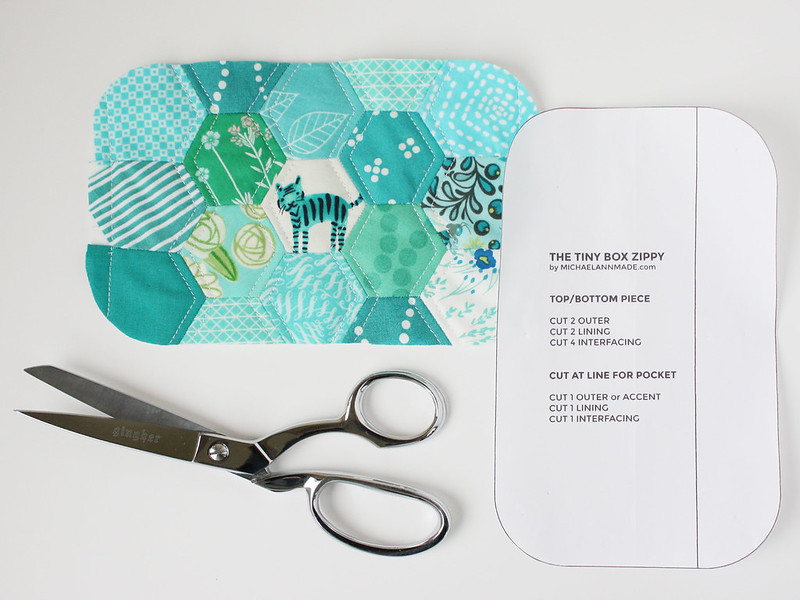
First, create patchwork panels for the pattern pieces you want.
In this example, I made patchwork for the Bag Top Piece
and the Zipper Panel pieces,
(For the Bag Bottom and Back Panel pieces, I just used a single piece of fabric.)
When building your patchwork, give yourself plenty of wiggle room
and make sure that your patchwork piece is a couple inches larger than the pattern piece.
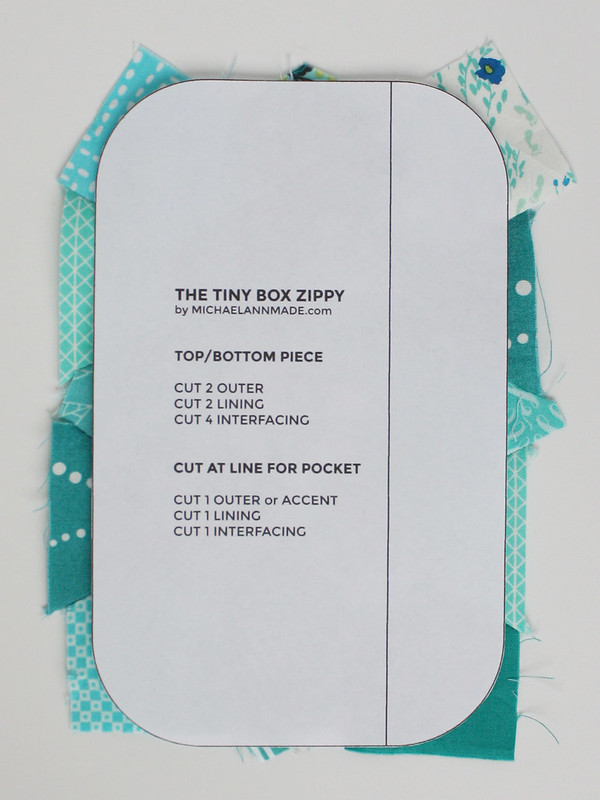
You can make sure that your patchwork is large enough for your top piece
by printing out the pattern and placing it over the patchwork.
In order to make the hexies work, I had to undo the basting on the outside hexies
and stitch their sides together, all the way to the end of the fabric.
This made sure that there was enough seam allowance for the bag piece.
Once you have your patchwork set,
cut out a scrap piece of quilt batting,
and a scrap piece of lightweight interfacing (I used Pellon SF101)
for each of the pattern pieces you want quilted,
an inch or two larger than your fabric.
For each piece, layer your fabric, then batting, then interfacing on the bottom.
Pin and quilt as desired!
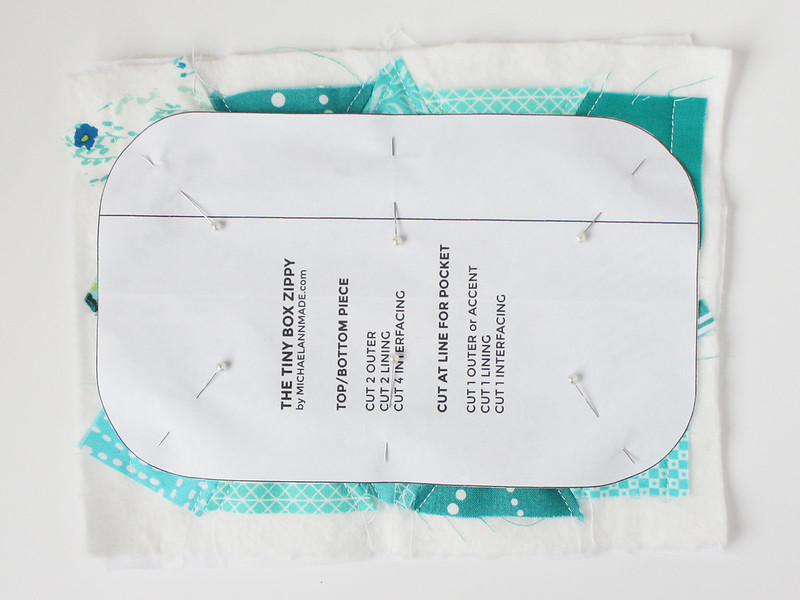
Again using your pattern pieces,
trim all quilted pieces back to the sizes specified in the pattern.
Make sure that you have your patchwork centered and all seam allowances fit.
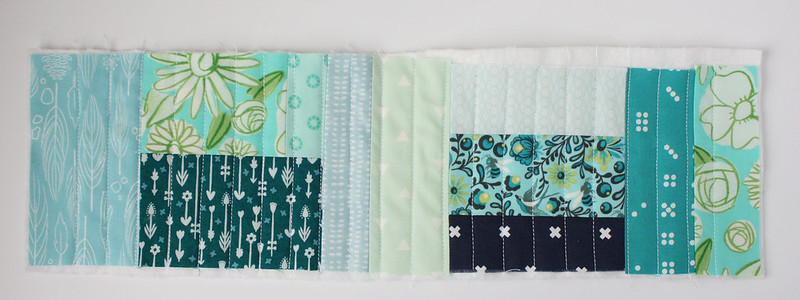
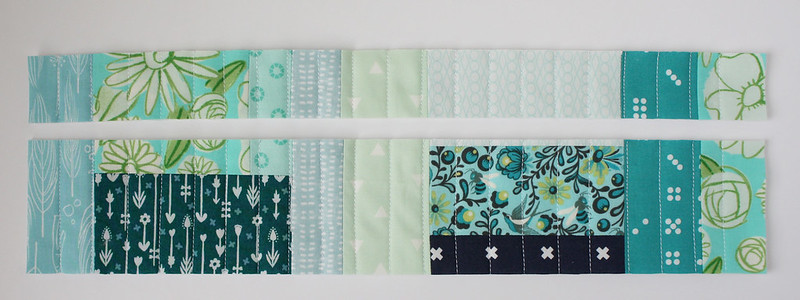
To make the patchwork zipper panel,
I made one piece of patchwork that would be large enough
for both zipper panel pattern pieces (including an inch or two of wiggle room).
After the piece was quilted,
I was then able to cut both the Wide and Thin Zipper Panel pieces from the same piece.
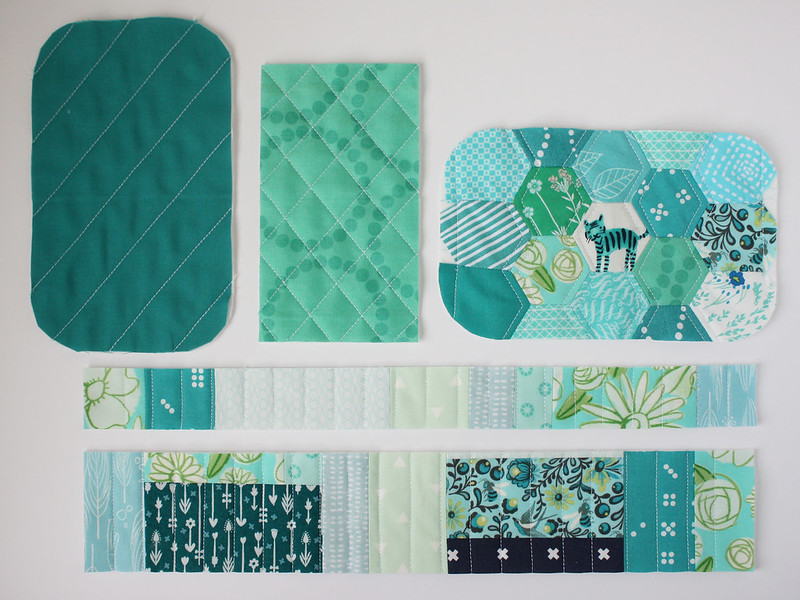
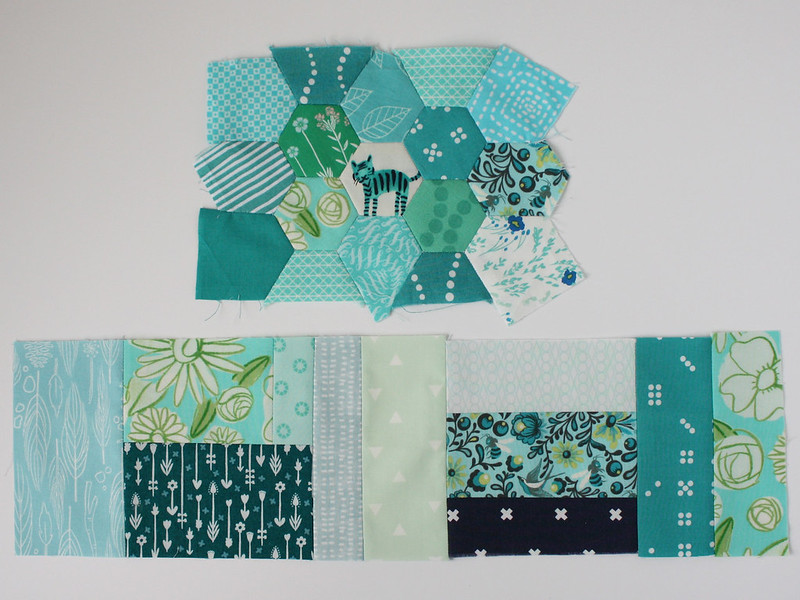
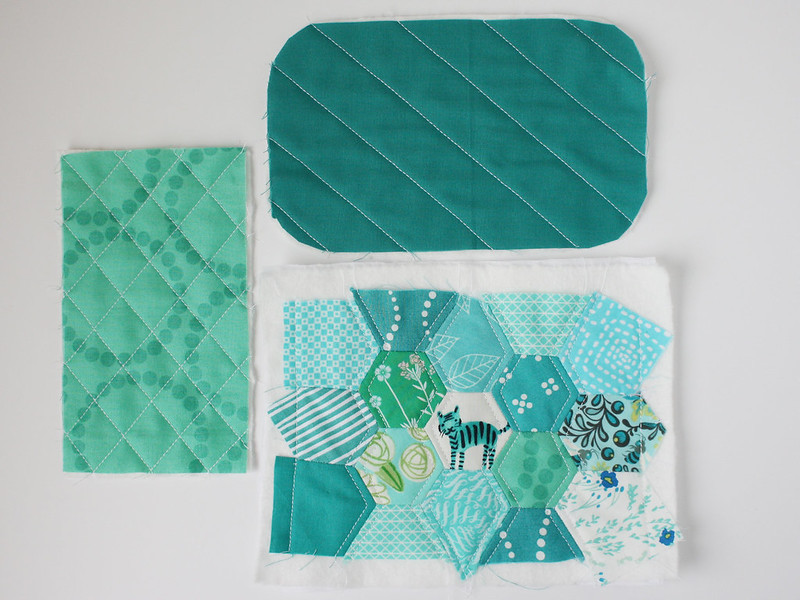
Here is what you should have when you are done -
One quilted top, one quilted bottom, a back panel, and two zipper panels!
Now just take these pieces and continue making your bag as the pattern states!
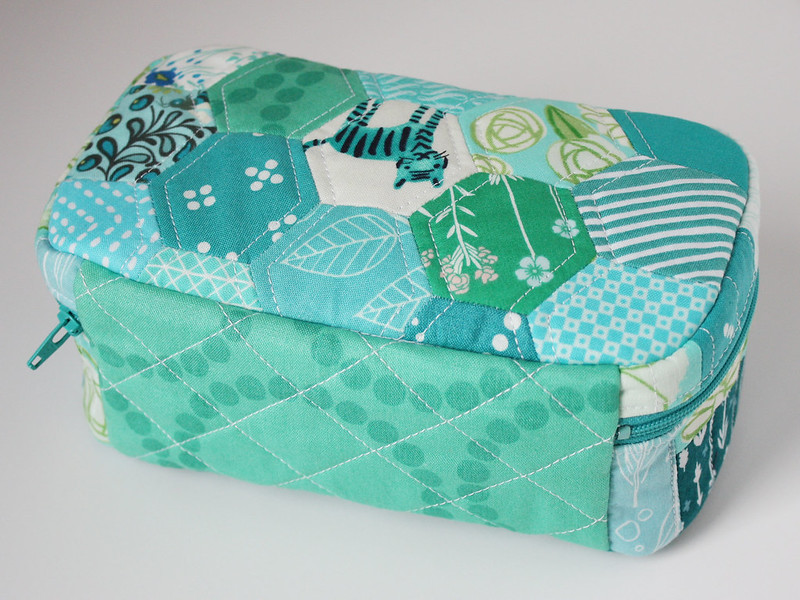
Because of the additional bulk the batting adds,
be cautious when sewing the curves and lots of layers in one seam.
You may also need to trim and grade your seam allowances a little more.
Take your time and you should have no trouble at all!
I had so much fun making this little quilted bag,
I definitely think another is in order.
Maybe with a teenie Dresden plate on top?
Or a row of tiny paper pieced flying geese?
I can't wait to see what designs and patterns you dream up for your Tiny Box Zippy pouches!
Keep sharing them on Instagram, and have fun!
Hello, Boo! No need to send the pattern...that one will do just fine!? Sew fun!
ReplyDeleteHi! This is lovely, I've made a quilted version too. But I didn't bother to line it - the quilted panels formed the lining and it worked very well.. Thanks for this lovely pattern!
ReplyDeleteThat's so cute! Love the colour scheme too...my favourite!
ReplyDeleteLove this and I love the unexpected bit of black floral inside; it'll make the contents stand out even more :)
ReplyDeleteLove this and I love the unexpected bit of black floral inside; it'll make the contents stand out even more :)
ReplyDeleteLove this and I love the unexpected bit of black floral inside; it'll make the contents stand out even more :)
ReplyDelete