Who's ready for week two of our Halloween Medallion Quilt Along!?
I love that there are so many of you joining me for this spooky sewing ride.
Sewing really is more fun with friends!
I'm especially excited for this week of the quilt along,
because at this point I feel like it really starts to look like a quilt.
And we're that much closer to finishing!
The best, and most sneaky part, about this week,
is that with just a little extra effort, we can make two rows at once!
A couple of you already noticed,
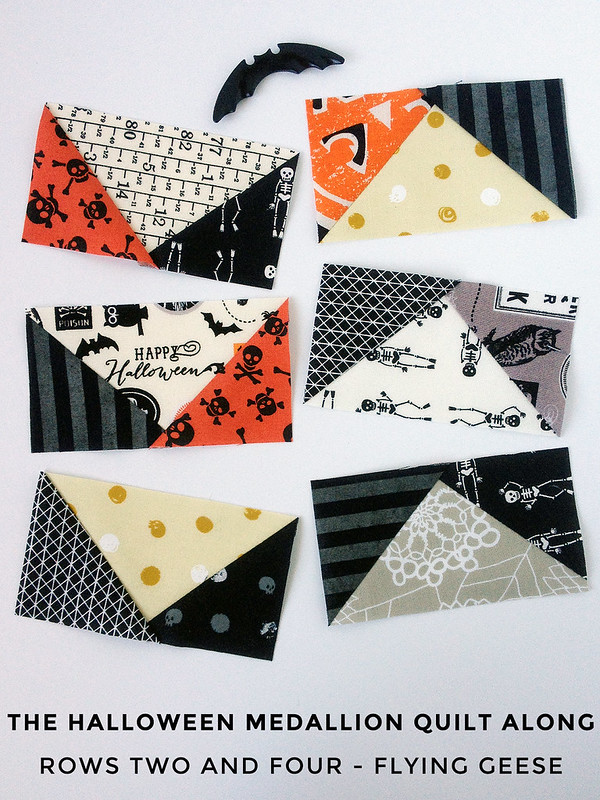
but both of the flying geese rows, rows 2 and 4, are exactly the same!
So why not just piece them all at the same time and call it a day!?
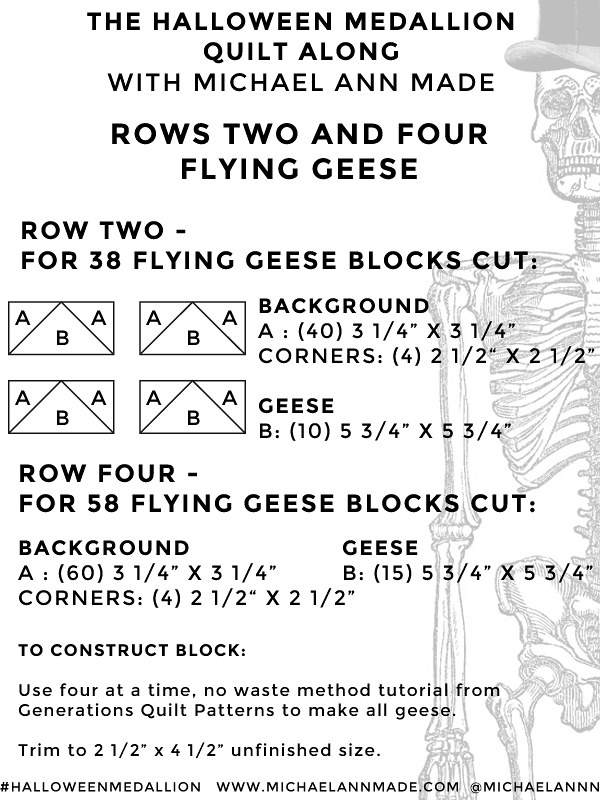
Again, I made a fancy little cutting sheet for you,
and again, we will be using an existing tutorial to construct our geese.
I really like the "no waste method" or "four at a time" method for making flying geese,
because you can make more geese quickly and simply.
The best tutorial that I have found for this method is
the No Waste Flying Geese by Generations Quilt Patterns.
And the added bonus, she uses the exact measurements we need for our quilt!
The measurements in the cutting sheet above follow the Generations tutorial,
and will give you the amount of blocks needed for both the 2nd and 4th rows.
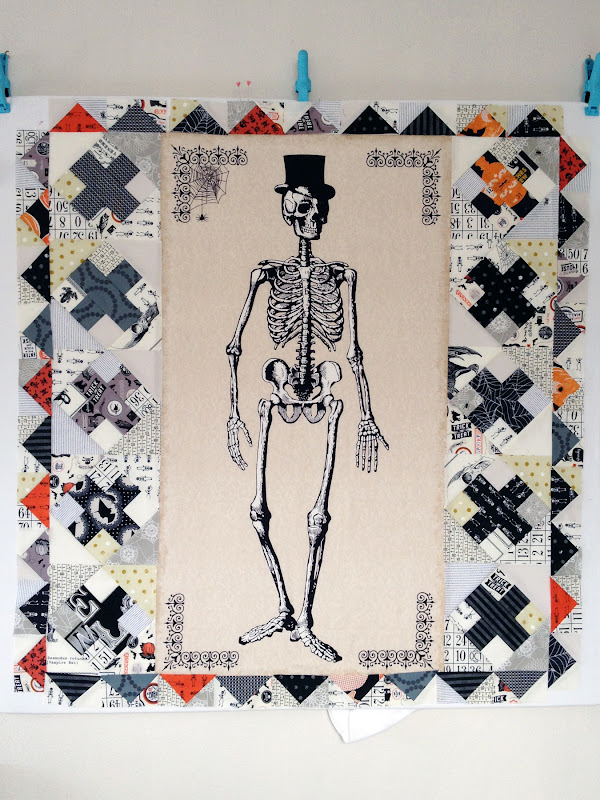
I separated them in case you need to use different background and geese combinations
for your rows like I did
(my second row is dark geese on light ground, and fourth row is light geese on dark ground)
And please also note, feel free to use your preferred flying geese making method.
So long as you end up with the same number of 2 1/2" x 4 1/2" geese, you're good!

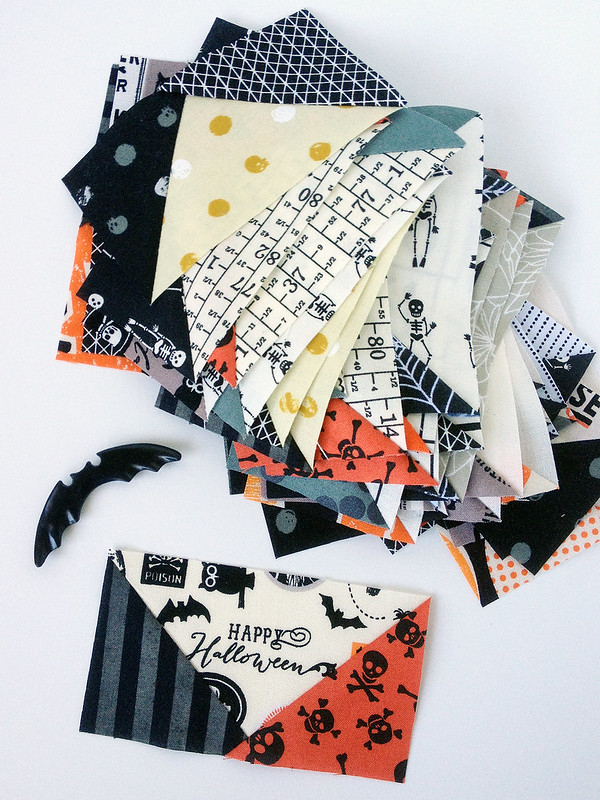
Once everything is cut, these geese are really simple to crank out
when you just chain piece all of them.
There is something so meditative and satisfying about chain piecing!
One trick that I did use, in addition to the Generations Tutorial,
was to mark my ruler with a bit of washi tape while I was trimming the geese down.
That way I didn't have to look at the numbers every time I lined up a new block,
and I could trim all the blocks at once without too much trouble.
Later this week I'll talk a bit about medallion quilt assembly
so that we can begin sewing all our rows together.
For now, look at how dapper that Mr Chillingsworth is with all his blocks pinned up!
I just can't wait to see how this week goes for you!
Be sure to tag me on Instagram @michaelannn
and join the #HalloweenMedallion hashtag so we can all cheer each other on!
See you again soon, and happy sewing!
Comments
Post a Comment
thanks for stopping by :]
i love replying to comments, either here or by email.
so be sure to check back if you have a question!